How to Use Green Screen Feature in CapCut
CapCut is the best mobile video editing app, an excellent option for beginners and professionals. It combines an easy-to-use design with some of the most advanced video editing features.
One such feature available in CapCut is green screen which can be pretty handy for removing video backgrounds. However, if you have never used the green screen feature in other apps, it might confuse you. Hence, we have a complete guide on using the green screen in CapCut in this article.
What is the Green Screen Feature in CapCut?
If you have ever seen videos where people have different changing backgrounds in the back, then the chances are that it is most likely made using a green screen. Just by the name, a green screen video is one where you record your subject or people in front of a green wall or a green screen.
Once recorded, you can use the green screen feature in your editing apps to select this green-colored screen. Because the whole background has one color, green in this case, your editing app can remove this one specific color and, hence, the entire background.
Once you have removed the background of your video, you can put this video on top of any other video and replace the background as you need.
Now, coming to CapCut, being a powerful editing application, it also offers a green screen feature. You can use this feature to remove green and blue screens in your video.
And to help you achieve the best results, it even offers advanced green screen refinement options. You can even remove video backgrounds without a green screen using CapCut. By the way, you can also reverse a video in the CapCut editor.
How to Use Green Screen in CapCut?
By now, we have covered almost all of the details regarding the green screen feature in CapCut. Since it can be a great way to combine videos, remove backgrounds, and make advanced creative edits, knowing how to use this feature can be helpful. So, if you also want to use the same, you can check this step-by-step guide on how to use the green screen in Capcut:
Step-1: First, open CapCut and select New Project to get started.
Step-2: Select the desired background video here and tap on Add.
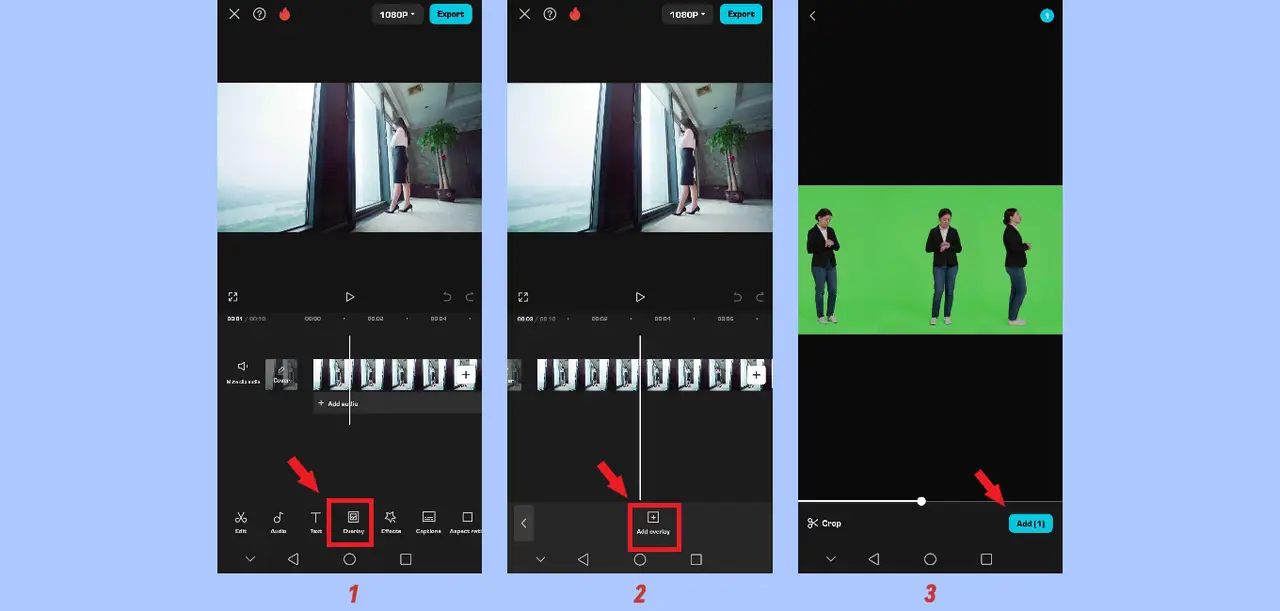
Step-3: Now, to add the second video from which you want to remove the background, tap Overlay.
Step-4: Inside the Overlay menu, tap on Green Screen, select the desired video, and click on Add.
Step-5: If you have selected a video with a green background, tap on Remove BG and then select Chroma Key.
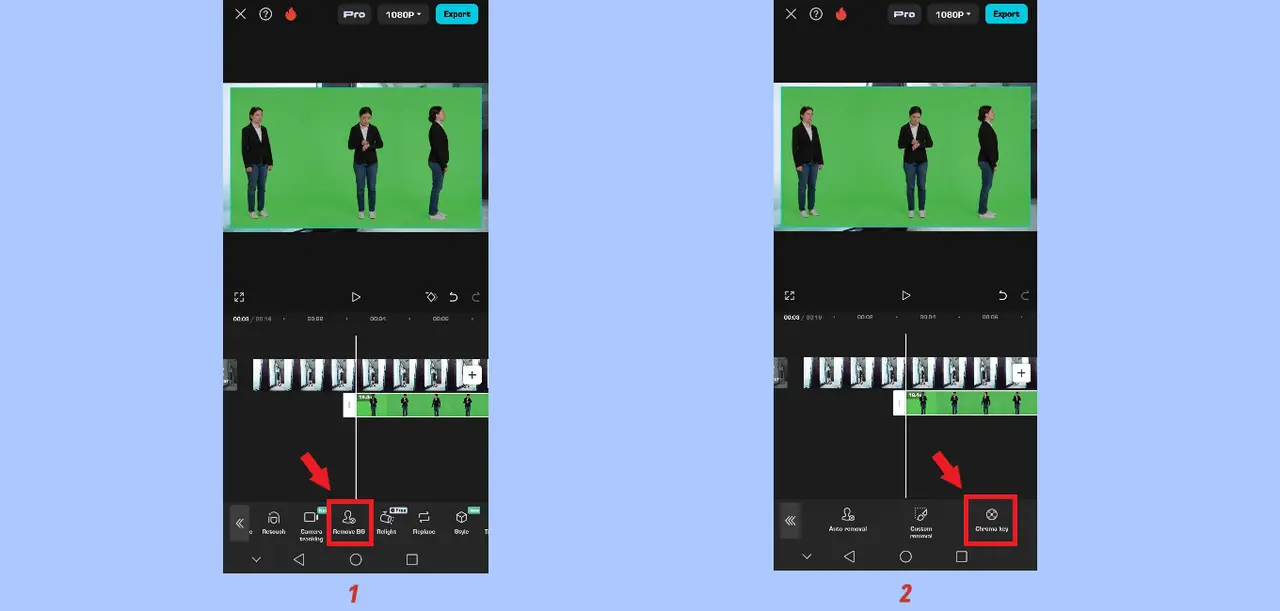
Step-6: Then, use the Color Picker tool to select the green screen present in your video.
Step-7: After this, you can change things like intensity, shadow, feather, edge settings, and other parameters to refine your green screen removal.

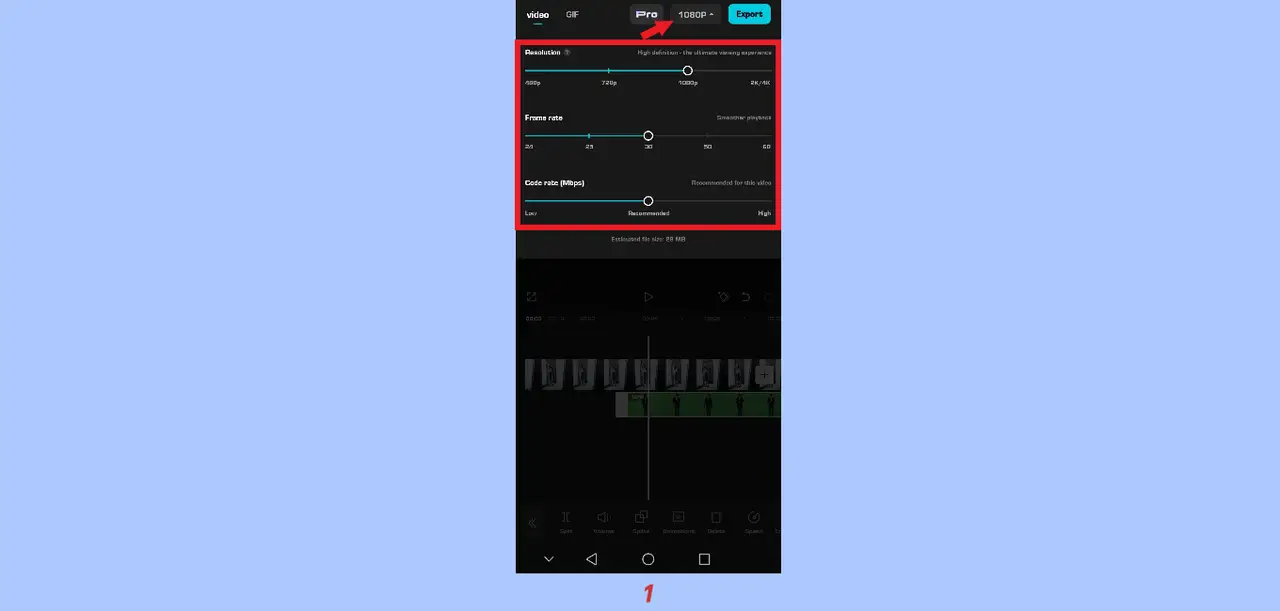
Step-8: Once you are happy with the background removal effect, select your desired resolution and tap on Export in the upper right corner.
Final Words
Whether you are making a long-form YouTube video or just a quick Instagram reel, removing the background of your videos can be pretty helpful. Because of this, CapCut also offers these features inside a mobile app, allowing you to remove video backgrounds on your phone.
To help you with this, we have provided a complete guide on using green in CapCut above. If you have any questions or doubts about these features, please drop them in the comments section below.